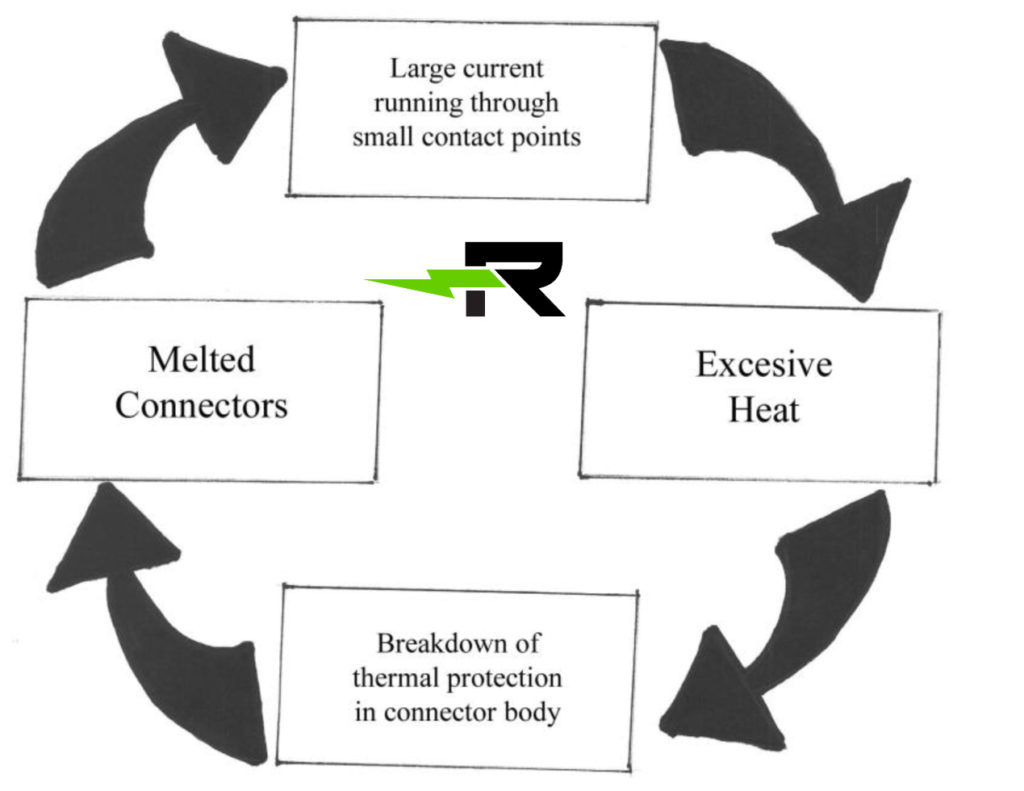
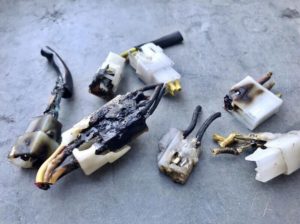
It is vitally important when repairing an overheated or burned out connector to inspect the entire affected area and replace all damaged parts. Since metal serves as an excellent conductor of heat, as well as electricity, the wires leading from the connector can carry the heat from the bad connector, corrode the wires and cause more physical deterioration. Burned connections typically happen as a “snowball” effect. As the connection deteriorates it gets hotter. The heat accelerates the physical deterioration which in turn produces more heat, causing more destruction. This process continues until the entire connection is completely burned out and disabled. When the electrical current begins to run again the heat will increase, creating a new cycle of deterioration and causing the connector to melt or burn out again. Therefore, replacing a connector or terminal without restoring bad or corroded wires will only cause a recurrence. This is true when replacing all parts. If any part with a new connection and terminal is plugged into a corroded connector, the corrosion will cause the new connection to burn out also.i It is therefore well advised to inspect all the parts in the area and replace any component in question.
When repairing the damaged wiring, it is important to remove ALL heat-damaged wiring and connections, not just the obvious ones directly surrounding the connector. It is possible, on a specific job, to have good wiring directly behind the burned connector, but if the heat damage has spread from the connector and you have to cut out burned wire, make sure to get to “clean” The wire and make certain that there is no additional heat damage before adding new terminals and/or connectors.

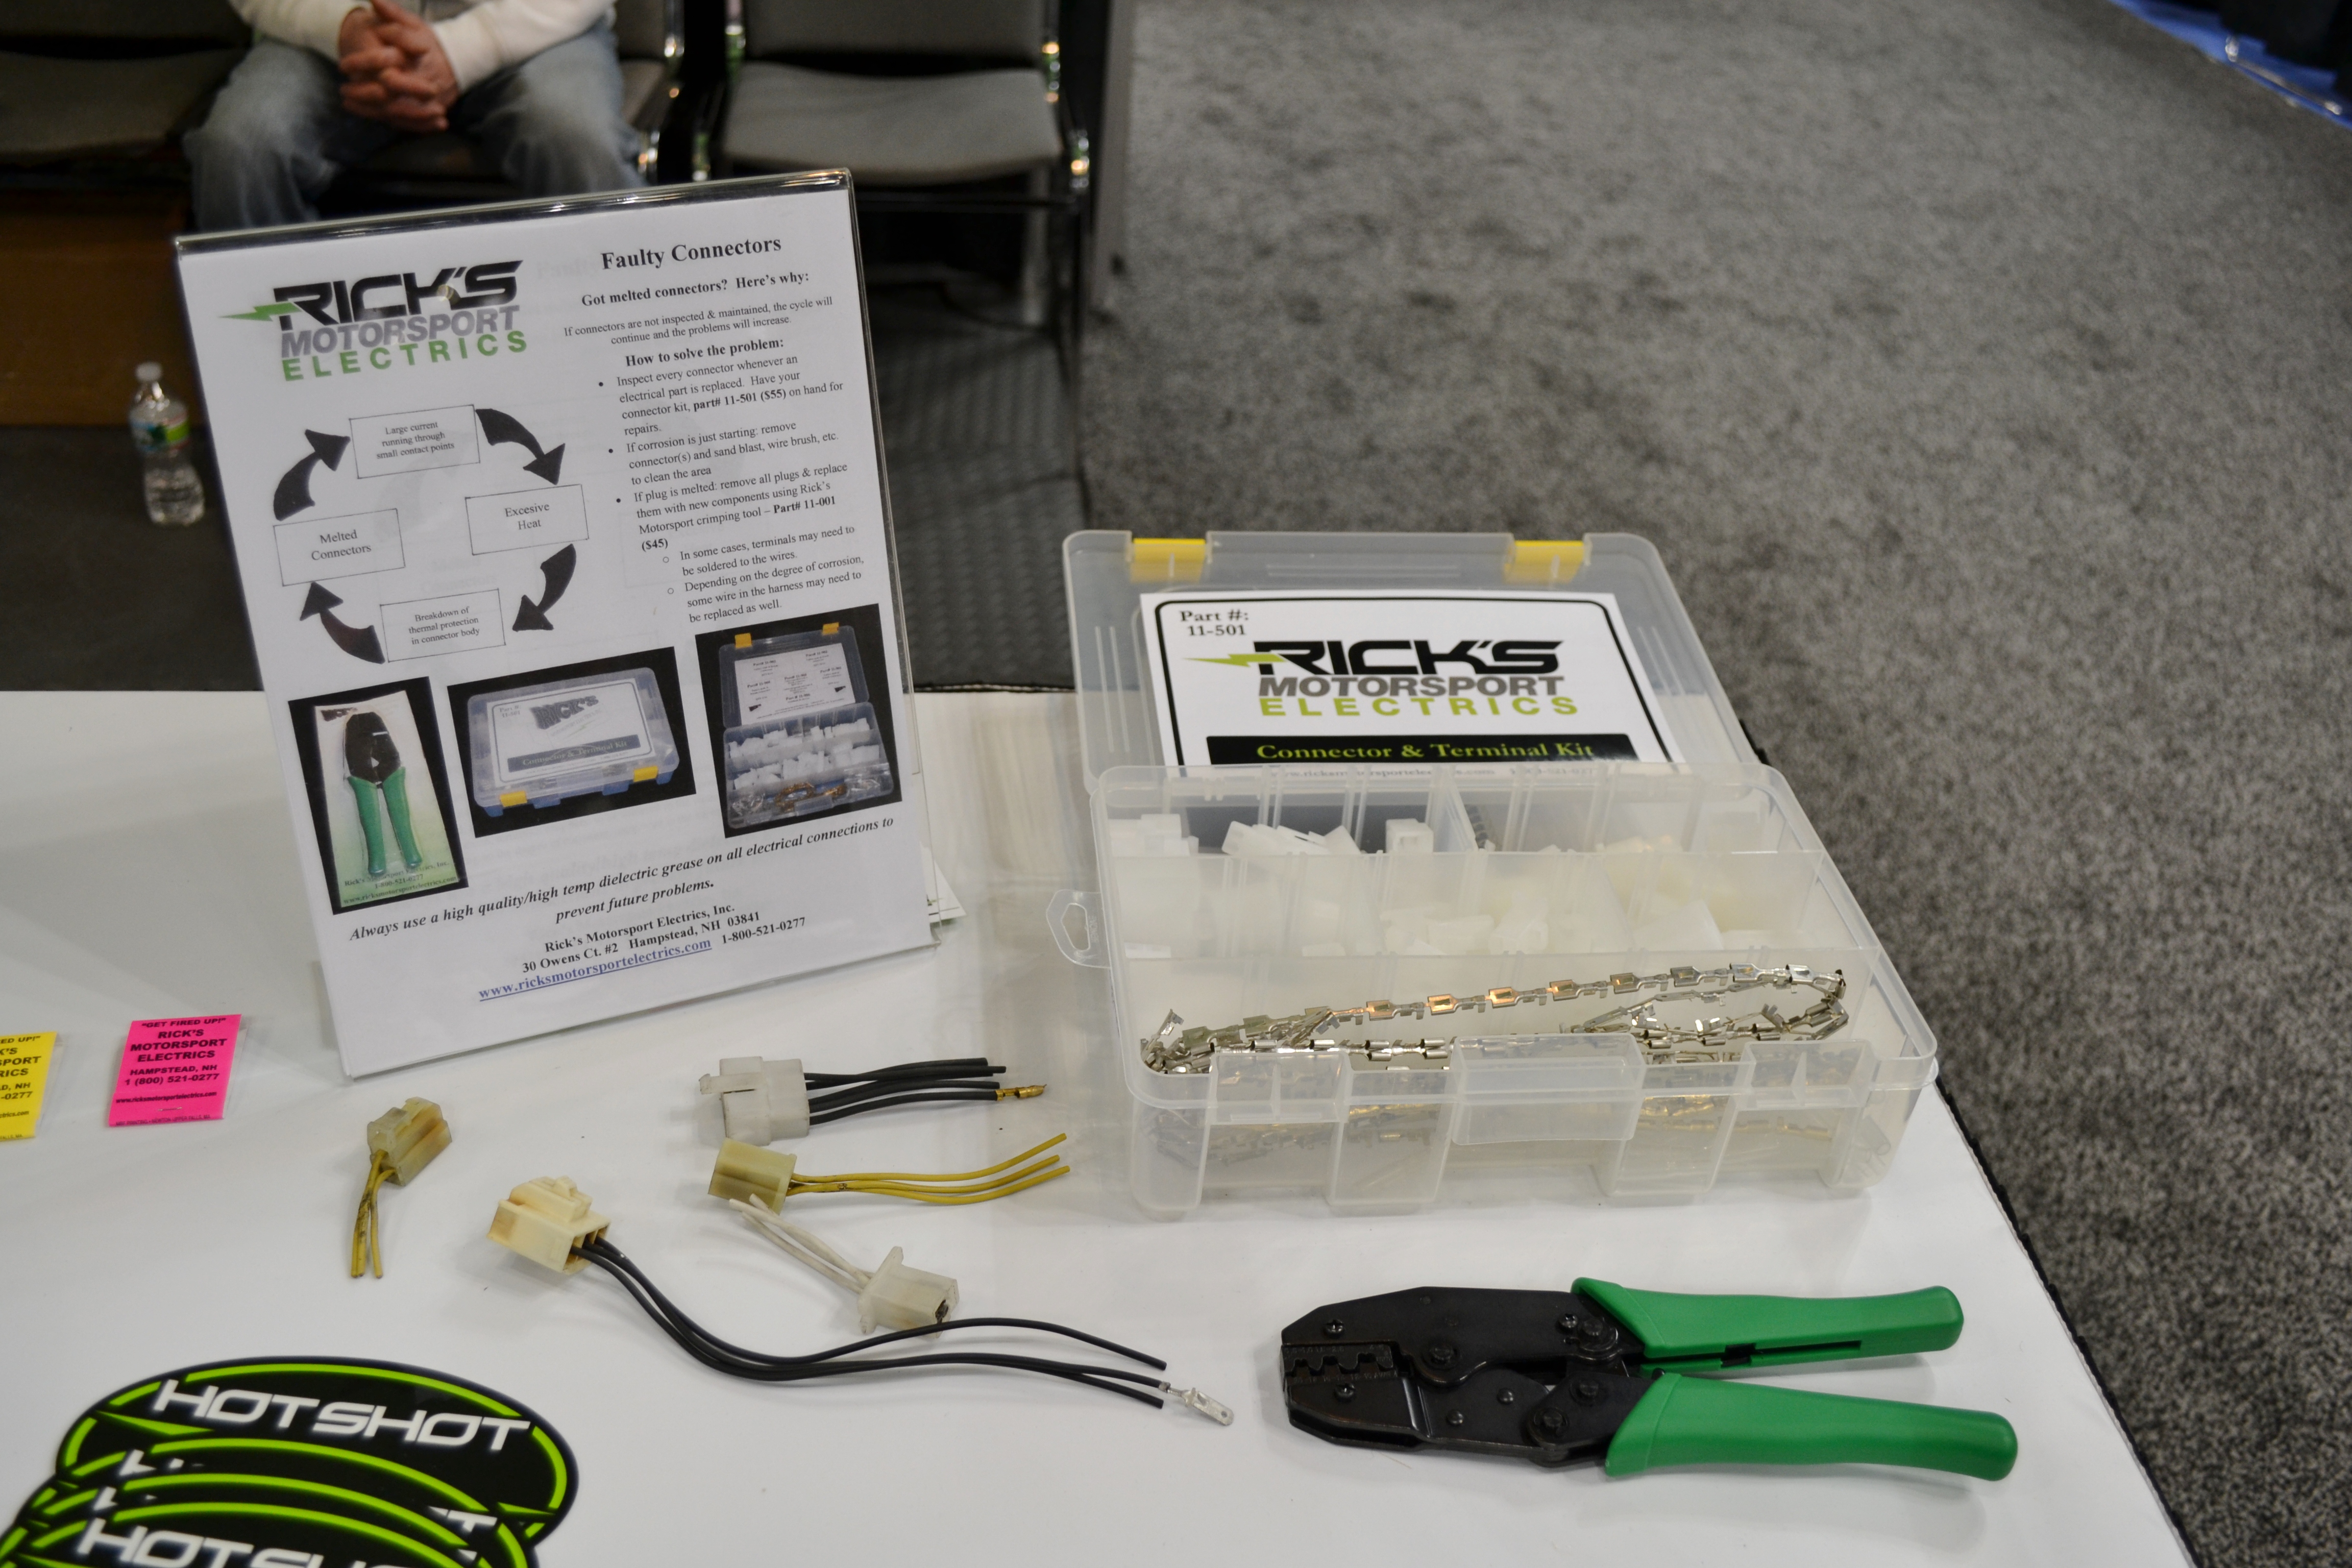
If, after a careful inspection it is necessary to remove the connector, it is a good idea to have a connector kit and crimper. A must-have tool, the crimper Part# 11-001 works with all of our connector kits. If corrosion is starting, it is important to remove the corrosion and clean with a wire brush or use any other effective method in removing any and all deterioration from the area. If a plug is melted, remove all plugs and replace them with new components. In some cases, terminals may need to be soldered to the wires. If it becomes necessary to solder in new wires due to deterioration or to get the proper length, make sure the solder joints are thoroughly penetrated and insulate them with heat shrink rather than electrical tape. Depending on the degree of corrosion, some wire in the harness may need to be replaced as well. Always use a high quality and high temperature dielectric grease on all electrical connections to prevent future problems.
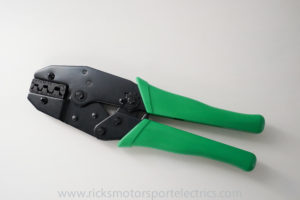

Ricks Motorsport Electrics offers a variety of connector kits and terminal kits to meet your specific needs. Rick’s crimper, part # 11-001 is the ideal tool to use with any of our kits. It is used in our production department and makes a perfect “B” crimp, facilitating any job. And be sure to check out our Youtube video for a visual step by step: